Sunday, 16 November 2014

Pamela Sunday and Gabrielle Baecile

Pamela Sunday 
There is not a great deal of information available on this artist or her organic based work however Pamela Sunday is a ceramic artist who specializes in creating unique and abstract forms inspired by nature and science. Her work resembles cells and microbes on a molecular level focusing on the unique patterns, shapes and textures that they appear to produce. her work is reasonably large for a ceramic piece and is highly detailed, the finish of her work is either metallic or neutral colours.  Many of her ceramics look like very similar to coral or sea urchins and if they were placed in an marine environment and coloured accordingly it would be difficult to distinguish them from the real organisms that live there.SundayFIN2


Gabrielle Baecile 
Even more marine and coral like is the work of French ceramic artist Gabrielle Baecile who creates brightly coloured organic and realistic sculptures out of clay. Her work is of a medium to large scale and is all hollow as it is composed of pinched forms. Her work is very textured and surface detail plays a key part. She has created a contrast in her work of areas of indentation next to areas that protrude from the surface. It is clearly visible that her work is made up of several different segments, this further links to its organic route as it resembles an insect in some ways as both are segmented.


Although both artists work is organic based they differ a lot. It is clear that the work of Baecile is definitely more marine based than that of Sunday by the way it so closely represents coral and similar organisms. A key difference is the colouration of the finished pieces, there is more variation in that of Baecile and the colours seem more natural.
Sundays work appears to be based around a singular closed form where as Baeciles is made of a number of different size and shaped forms.


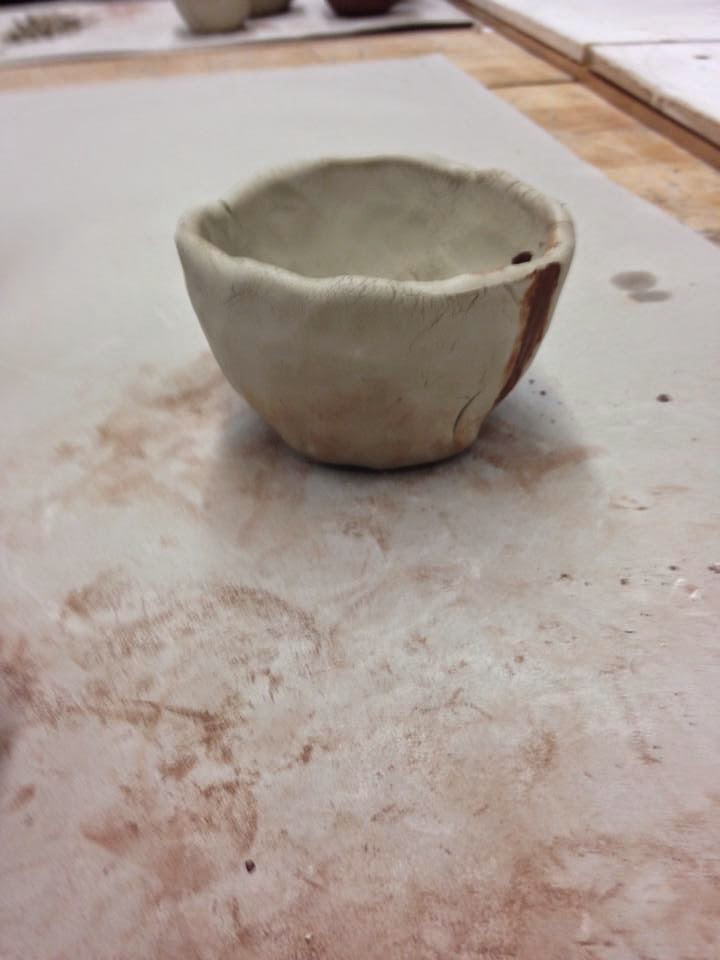
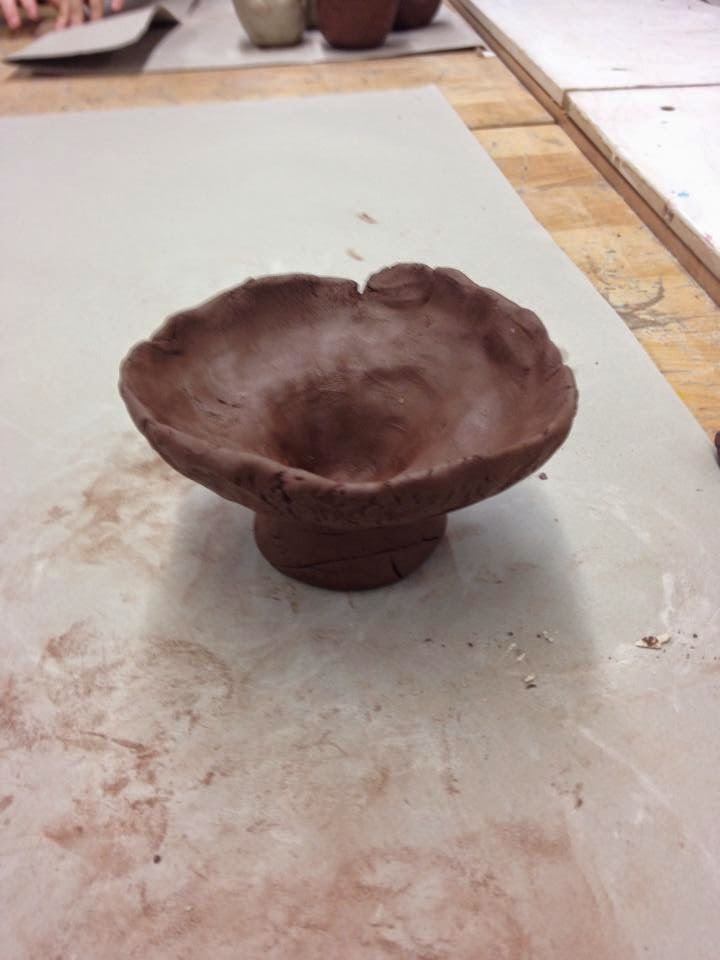
This is my pinched form before firing, i tried to combine elements of a tree, rock, skull, tentacles and insect. I found it difficult shaping the clay into what i had pictured, this is a skill that just comes with practice however. Like Sunday and Baecile i used pinched forms to create my piece. If i had chance to redo my piece i think i would have made it more abstract.


Tuesday, 11 November 2014

moulds

These moulds were made originally from clay, a clay ring was made around the form and old lino flooring was used to make a wall to contain the plaster of Paris that was poured on top of the mould. Once the plaster had dried we could remove the wall and excess clay ring. 
The clay form was removed from the plaster and liquid slip was poured in and left to dry, the plaster absorbed the water leaving a thin clay shell inside the mould.
We left the moulds for about a week and removed the new clay form. When they come out of the mould they are very fragile and whilst trying to decorate my form it broke in a number of places and crumbled in my hands, this is why i chose to work with this and give it a distressed and decaying look.

I liked the colouration given when the form came out of the mold so i painted areas with the red slip before it was fired. After firing the results weren't as i had expected so i painted a layer of copper carbonate over the top to add to the colour and make it look more weathered and distressed.


The following safety rules apply when using clay and plaster of Paris:
Always clear up all spillages of slip and worktops where clay has been used to remove clay dust particles.
Wash hands after work to remove dust.
Always work in a well ventilated room.
Do not get plaster on skin, in eyes or on clothing due to extreme heating when setting.
Do not enclose any part of the body in plaster for above reasons.
Plaster also creates dust which is harmful when breathed in.


 Pablo Picasso:
http://www.pablopicasso.org/
Pablo Picasso was a Spanish painter, ceramicist and sculptor. His ceramic work came in the form of unique vases, pots, bowls and plates. Although more well known for his paintings, ceramics did make up a large part of his career.

Thursday, 30 October 2014

artist links

David Hockney:
http://www.hockneypictures.com/home.php
When we were  practicing one of the artists we looked at was David Hockney, a British painter who has chosen to dedicate his art to the movement of pop art.

Fiona Rae:
http://www.fiona-rae.com/
Fiona Rae is the artist we focused on for abstraction, she has developed a unique style where she will drip paint down the canvas at different angles, she also applies different coloured paints onto a paintbrush before making a brush stroke.

Francoise Nielly:
http://www.francoise-nielly.com/
After exploring the use of pallet knives as a painting tool we were introduced to the French artist Francoise Nielly. The subject matter of her work is people and in particular portraits. Using bright and contrasting colours she creates large portraits using only pallet knives.

Lucian Freud:
http://www.tate.org.uk/art/artists/lucian-freud-1120
Lucian Freud is a British painter who is known for his use of impasto or textured paint in his work. His pieces are created by layering up paint to give the piece almost a 3 dimensional feel. Using the same technique we practiced our own use of impasto.

Decorating and Finishing

There are many ways to decorate a ceramic piece, a few we have explored are glazes such as white glaze which is applied to the ceramic after the bisque firing, different oxides including iron and copper. A recent technique we have explored  is a process of covering a ceramic piece in a thin layer of different coloured slip and once dry etching and engraving into it to reveal the colour beneath.

Joining closed forms

In order to make a solid form from clay it must be composed from 2 separate forms with a hollow center so that the form doesn't explode when heated in the kiln. A ball of clay is needed first and must be rolled between your hands to make it as round as possible. Press your thumb or a similar sized object directly into the middle of the ball so it roughly represents the shape of a vase, do the same with another ball of clay. Across the top or lip of the form score into it and fill the scores with slurry, now join both forms together making sure not to close up the hole that will be left inside. Once joined you can mould the new form into the desired shape, a small hole is needed at the bottom of the form to allow air to escape when firing.

Thursday, 9 October 2014

Felt Making

Equipment: 
Wool Fibres
Bar of soap
Warm Water
Bubble Wrap
Sushi Mat
Netting or Mesh Fabric

1. Lay down the sheet of bubble wrap with the bubble side facing up.

2. From the collection of wool fibres pull off small chunks and layer them down on top of the bubble wrap, with the next layer facing the opposite direction. Do not cut the wool as the blunt edge will not felt well.

3. Place the netting over the top of the wool careful not to move it.

4. Sprinkle water over the wool but do not over wet.

5. Press down on the wool to make sure it absorbs all of the water.

6. Gently rub the bar of soap across the netting holding the netting so not to move it.

7. once more gently rub around the wool in a circular motion for a few minutes.

8. Carefully remove the wool from the bubble wrap and place it onto the sushi mat.

9. Roll the sushi mat up tightly to drain off any excess water.

10. Roll the sushi mat backward and forward for a few minutes to bind the felt fibers together.

11. Carefully unroll the mat and rotate the felt before continuing.

12. Once all the fibers are felted together rinse the felt to remove the soap and leave to dry.


Moy Mackay:
http://www.moymackaygallery.com/
Moy Mackay is a Scottish artist who specializes in the use of textiles. The main subject matter of her work is nature, including animals and countryside like scenery.


Mary Clare Buckle:
http://www.maryclarebuckle.com/index.shtml
Mary Clare Buckle is another textile artist who has developed a unique technique where she layers sheets of acrylic between the felt allowing light to be cast through but also allowing the piece to support itself and not have to be confined to a frame.

Pinch Pots

Firstly take a lump of clay and roll it in your hands to make a rough ball shape. Next press your finger or thumb into the middle of the ball in order to make a bowl or vase shape. Smooth the edges so that they are even all the way around and smooth down any cracks that have formed due to drying of the clay. Shape the pot with your hands to create movement and texture within the piece. Add any surface decoration when the clay is at the leather hard stage. Once this is completed the clay is ready for firing.

Examples of pinch pots i have made:


Health and Safety: 
  1. Always wipe down your surfaces at the end of the lesson, to reduce the clay dust.
  2. Always pick up pieces of clay that have fallen on the floor and put them in the bag provided.
  3. Always wash all your tools after use, to reduce clay dust.
  4. Always wash your hands straight after using clay
  5. Clay tools are very sharp so always take care when using them.
  6. Always keep your food and drink in your bags, away from the clay and clay dust.
  7. Always put your coats and bags under the table or at the back of the room.
  8. Air expands when heat, so if you trap air bubbles in your clay the air pressure will cause and explosion, destroying yours and all the other work in the Kiln.